
The Ultimate Beginner's Guide to Microgreens: How to Grow Them & How They Compare to Sprouts
Have you ever wondered whether microgreens and sprouts are the same thing? They may look similar at first glance, but they're actually grown differently, eaten differently, and have their own unique characteristics.
Whether you're a curious parent, a teacher, or someone looking to add more fresh greens to your meals, understanding the difference is a great first step toward growing your own nutritious food at home.
What Are Sprouts?
Sprouts are seeds that have just begun to germinate. They're typically grown in water without soil or a growing medium and are harvested after just a few days.
When you eat sprouts, you eat the entire young plant—including the seed, root, and shoot.
Common varieties include:
Alfalfa sprouts
Mung bean sprouts
Broccoli sprouts
Radish sprouts
Sprouts are often enjoyed in sandwiches, wraps, salads, and stir-fries.
What Are Microgreens?
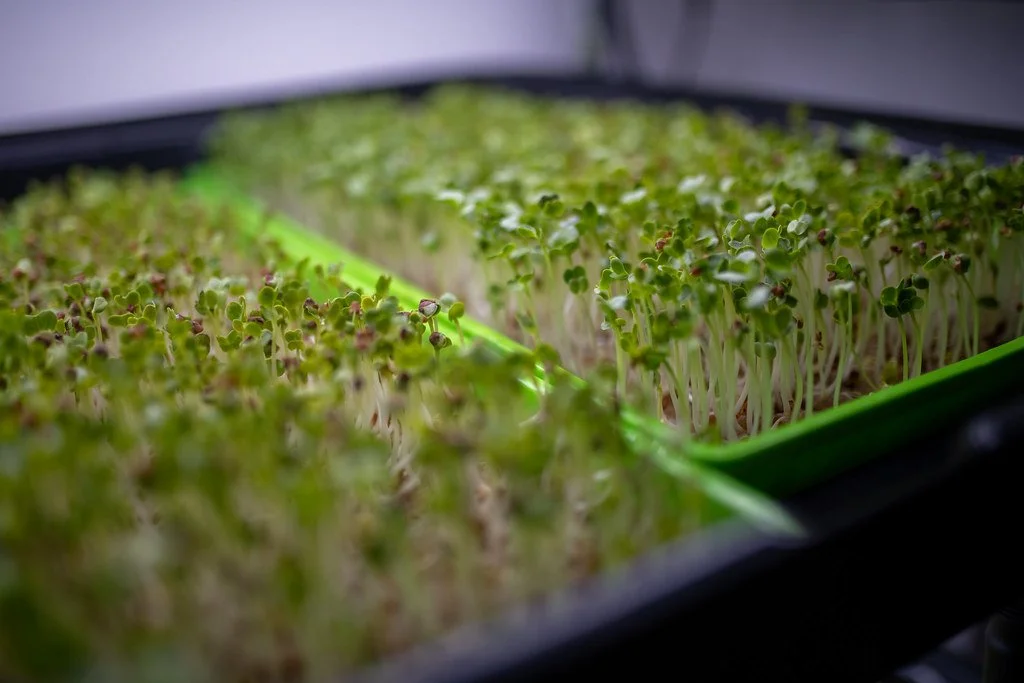
Microgreens are young vegetable or herb plants harvested after they've developed their first leaves (called cotyledons) and often their first true leaves.
Unlike sprouts, microgreens are grown on soil or another growing medium and are harvested by cutting the stem above the roots. The roots and growing medium are not eaten.
Popular microgreens include:
Sunflower
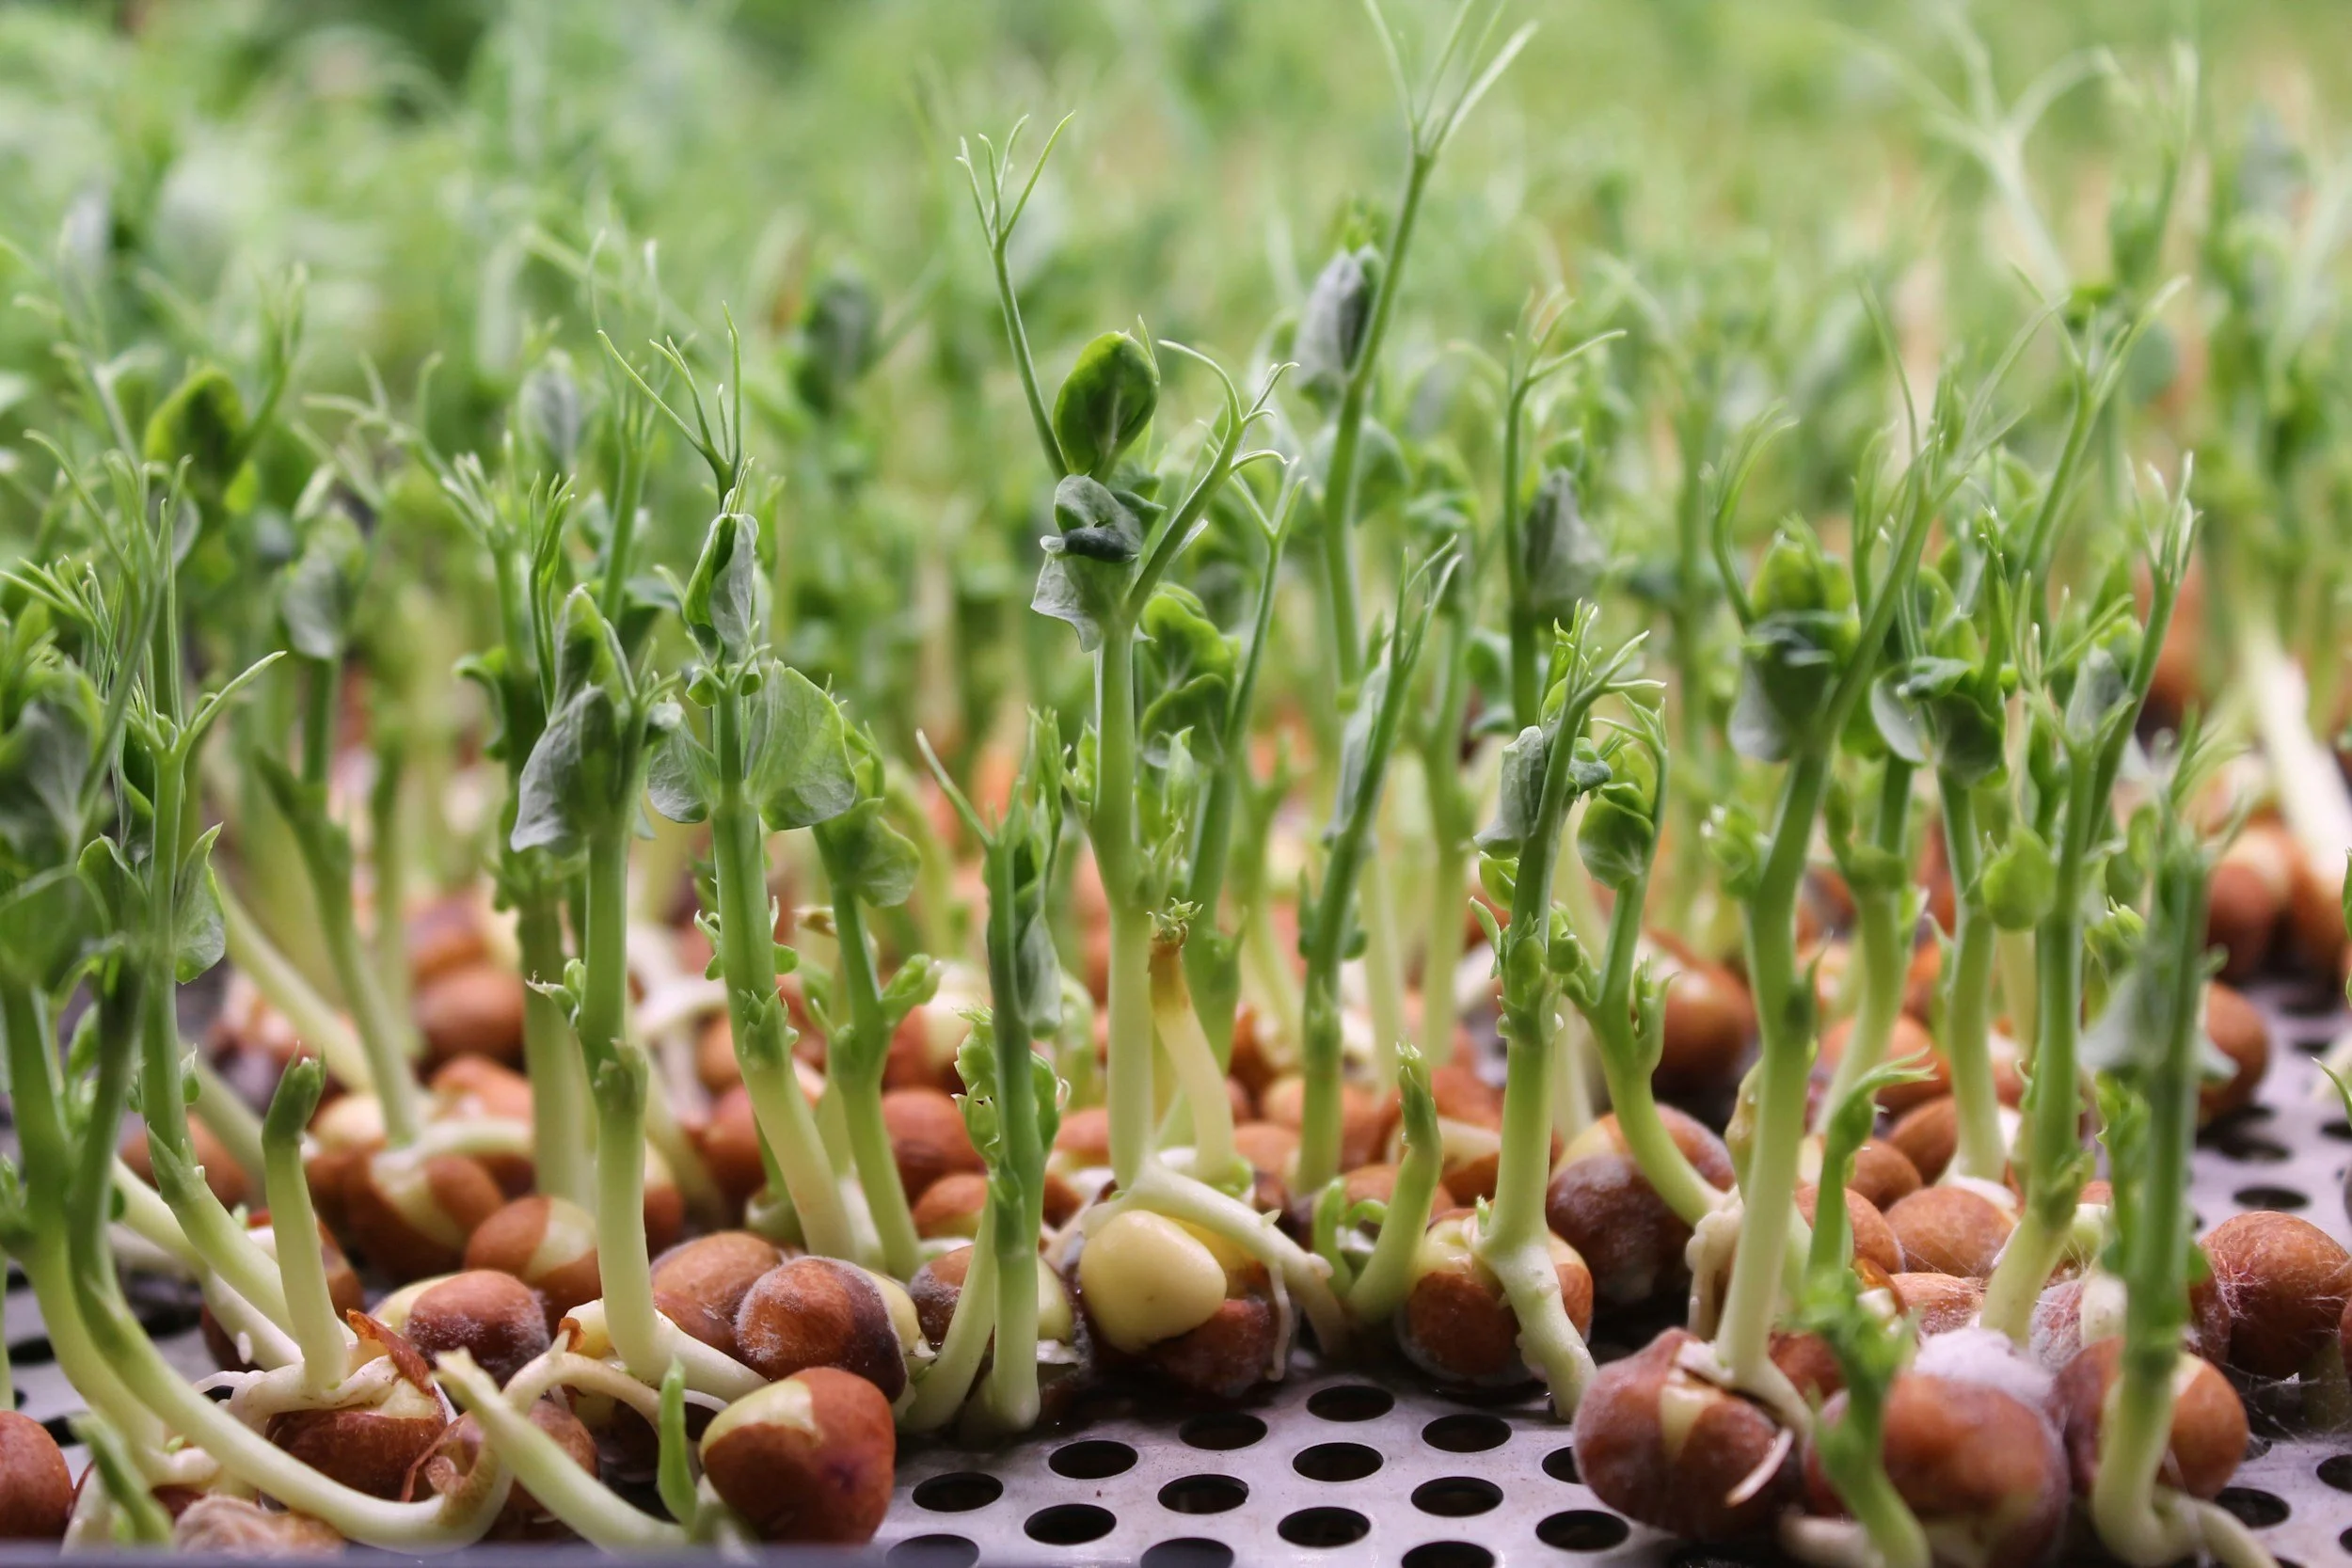
Pea shoots
Broccoli
Radish
Kale
Red cabbage
Mustard
Microgreens add vibrant color, fresh flavor, and texture to salads, tacos, sandwiches, smoothies, grain bowls, soups, and more.
Microgreens vs. Sprouts at a Glance
Sprouts
Grown in water
Ready in 3–7 days
Entire plant is eaten
Seed, root, and shoot remain attached
Microgreens
Grown on soil or another growing medium
Ready in about 7–14 days
Stem and leaves are harvested
Roots stay behind
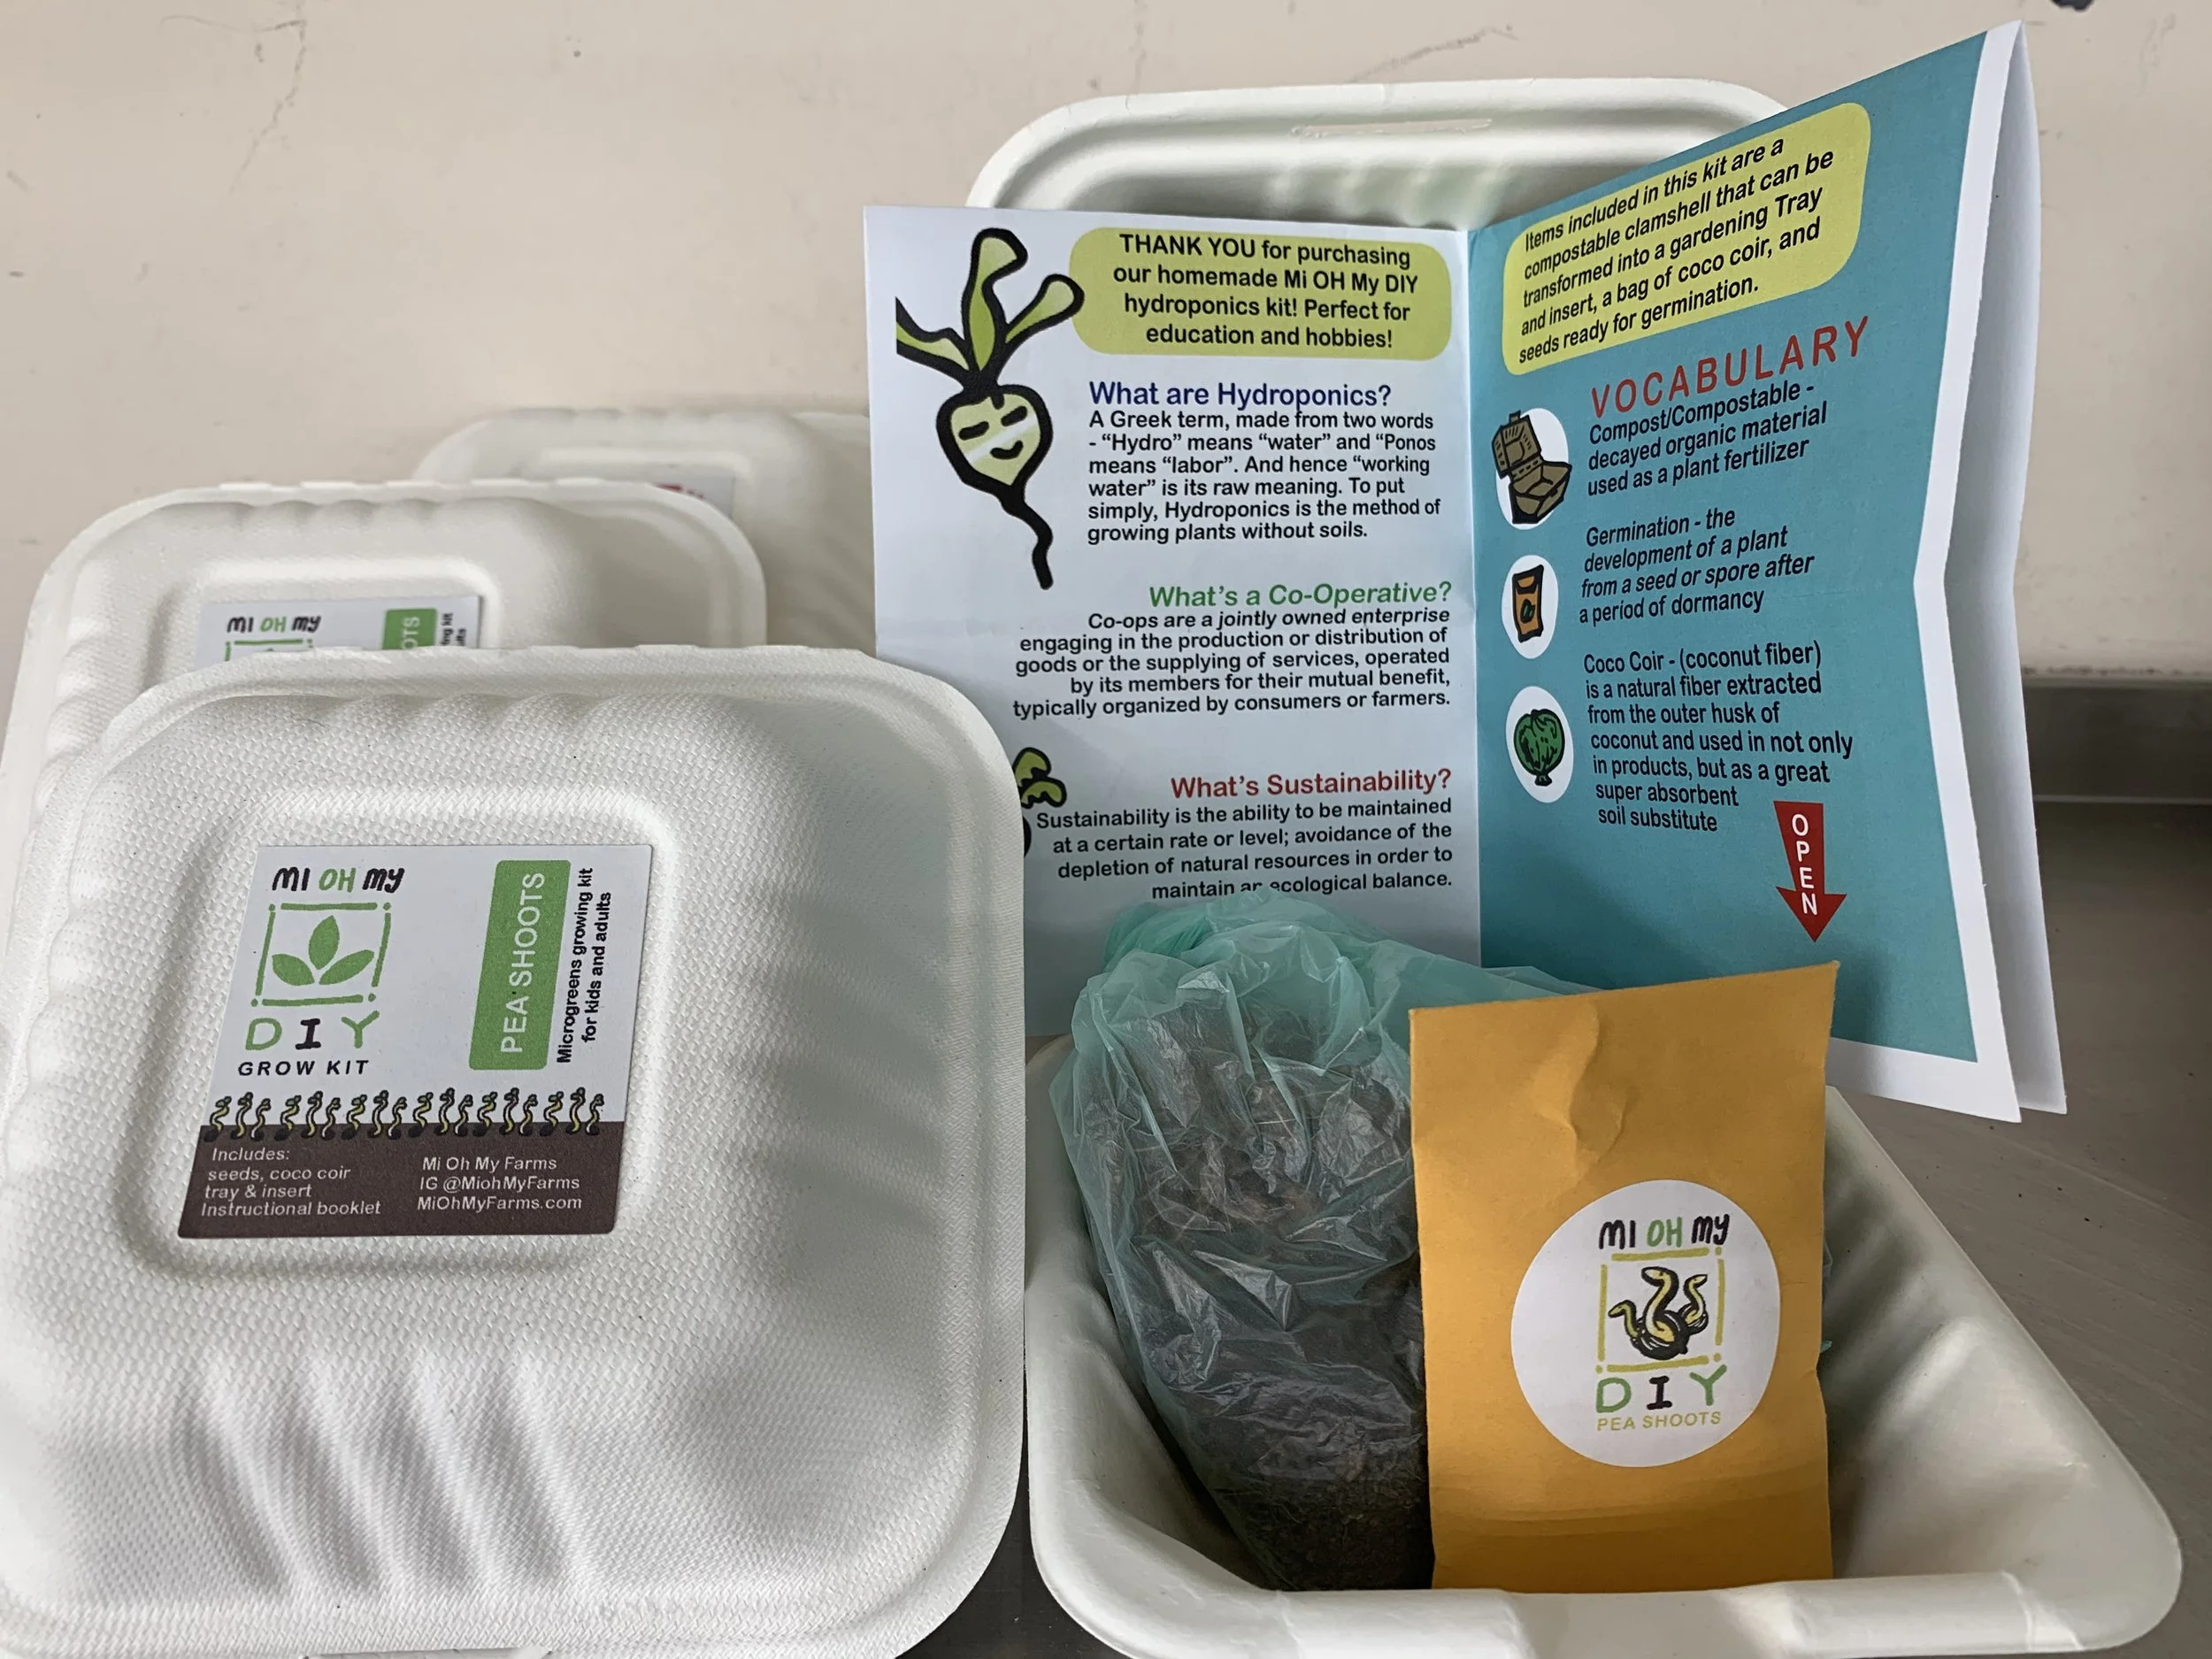
Kid-friendly DIY Grow Kits
How to Grow Microgreens at Home: The Mi Oh My Farms Method
One of the best things about microgreens is that you don't need a backyard—or even a lot of space—to grow them. With just a sunny window and a little patience, you can harvest fresh, nutrient-dense greens right from your kitchen.
Here's the same simple growing method we teach in our superfood K-12 workshops using our grow kits.
Step 1: Some seeds need to be soaked before planting but Daikon Radish & Pea Shoots are the easiest to grow do not need to be soaked.
Step 2. Fill a shallow tray. Add a thin layer of potting soil or your preferred growing medium - we use mostly hemp pads and many people use coco coir.
Step 3. Sprinkle seeds generously. Spread seeds evenly across the surface without overcrowding.
Step 4. Mist with water. Keep the growing medium consistently moist but not waterlogged. Your microgreens don't need sunlight yet! Place your tray in a dark location. Keep the temperature above 68°F (20°C). During this stage, the seeds are busy germinating and developing strong roots.
Step 5. Days 3–4: Time to Check In!
Keep an eye on your growing tray. Once your sprouts reach at least ½ inch tall, it's time to move them into direct sunlight or a bright window. If you notice one side growing faster than the other, simply rotate the tray to encourage even growth.
Step 6. Days 4–5: Bottom Water Only. As your microgreens continue growing, it's important to water them the right way. Instead of pouring water over the top:
Lift the insert from the tray. Pour about ½ cup of water directly into the bottom tray. Allow the growing medium to absorb the moisture from below. Bottom watering helps reduce excess moisture on the stems and leaves, lowering the risk of mold growth. Top watering or overwatering can create conditions that are less favorable for healthy plants.
Step 7. Days 5–7: Encourage Strong Growth. For the healthiest microgreens continue checking your tray daily. Keep bottom watering as needed. Rotate your tray occasionally if your light source comes from one direction. Watching your tiny garden transform each day is part of the fun!
Step 8. Days 7–8: Harvest Time! When your microgreens reach about 4–5 inches tall and have developed noticeable leaves, they're ready to enjoy. Using clean scissors: Harvest approximately 1 inch above the soil line. Rinse if desired.
Want to turn your kitchen into a tiny farm?
Our Mi Oh My Farms Kids DIY Microgreens Grow Kit makes it easy for children and families to discover the joy of growing fresh food at home while learning about science, sustainability, and nutrition along the way.
Whether you're homeschooling, looking for a weekend activity, or inspiring a future urban farmer, our kits provide a fun, hands-on introduction to growing nutrient-dense superfoods.
At Mi Oh My Farms, we believe that growing food is about more than what's on your plate—it's about empowering healthier communities, inspiring curiosity, and reconnecting people with nature, one tiny seed at a time.